Showing posts with label DIY. Show all posts

March 16, 2012

DIY Tea Bags + Letters


For St. Patrick's Day, I wanted to make a little something for my friends, so I decided to make them customized tea bags and a personalized letter for each of them. It's just a little something to remind them that there is still life during this awful round of midterms. Plus, it's a "holiday" so that's always a reason to get the creative juices flowing! In any case, these kind of letters can be made for any occasion or "just because."


Materials needed for the tea bags: any tea bag you prefer, post-its (in light of St. Patrick's Day, I chose an all green theme), and yarn

Materials needed for the letter: oil crayons (or colored circle stamps), envelopes, post-its, scissors, and glue


February 21, 2012

Watercolor postcards


My big, Sophia Lopez, personally designed postcards for her best friend. It's 15 postcards with one image, and she's going to send one at a time so her best friend has to put it together into one big postcard. It's a Christian Louboutin heel and "I love you more than Louboutin heels" around it. She used watercolor paint and 15 watercolor postcards ($4/15). With time, patience, and a bit of an artsy mind, you'll be able to do it too! These postcards are a great project for a special occasion or just to keep in touch with a loved one who is miles away.


Step 1: Have your paint, cup filled with water, and 15 postcards ready. Make sure you have 1-2 hours to spare for this project.


Step 2: Pencil out your desired design.


Step 3: Start painting your design by tracing over the pencil marks with watercolored paint.


Step 4: my beautiful big! In the left picture, she's finishing up her picture (still tracing over the design with watercolored paint. The key to a great picture is to take it slow). She's super happy to be done with her postcards after 2 hours. 

February 20, 2012

Mini brownie cakes


Inspired by Oh Happy Day's "Mini Cake DIY," my big Sophia and I decided to make our own version. An obvious complication arose: neither of us bake. But, that's all part of the fun - for the 1-2 hours of getting baking supplies ready, prepping, and the actual baking, we got to talk a lot (moral of the story: bake with a friend). The house was filled with the scent of freshly baked goods, and afterwards, we served our experiment to the girls in the fireplace room. Oh, the joy of a three-day weekend!


We used Betty Crocker's brownie mix and simply followed the directions. A note for advanced bakers (and a note for ourselves), use a thinner tray so the brownie mix is stacked higher. That way, you can create a higher stack and more layers of frosting for later on. See Oh Happy Day's example.


We created our own frosting because in the house, there was only one type: milk chocolate. Brown frosting on brownies wouldn't exactly be aesthetic in terms of presentation. So with powdered sugar, pure vanilla extract, softened butter, and milk, we were able to make our own frosting (which tasted heavenly - especially if you have a sweet tooth).


February 13, 2012

DIY card with pop-up heart

Valentine's Day usually passes by with a simple gram or text to my friends, but this year I wanted to make something for my closest friends to really show them how much I appreciate them. With the card, you can include a baggy with candy by stringing the card into the ribbon that holds the bag together. I'm posting so close to Valentine's Day because I didn't want them to see their cards prior to receiving. Anyway, here is the finished product and the how-to on making the card:


Materials needed: red and pink gift tissue paper, index cards (4x6), scissors, glue, writing utensils, and post-its


Step 1: Fold the index card in half. Then, using the index card as a prototype, cut the tissue paper in the same size and shape. Now, the tissue paper acts as a cover!


Step 2: Cut hearts from the red tissue paper. The size is really up to you, but keep in mind, it will be popping out from your index card so don't make it too big or too small!


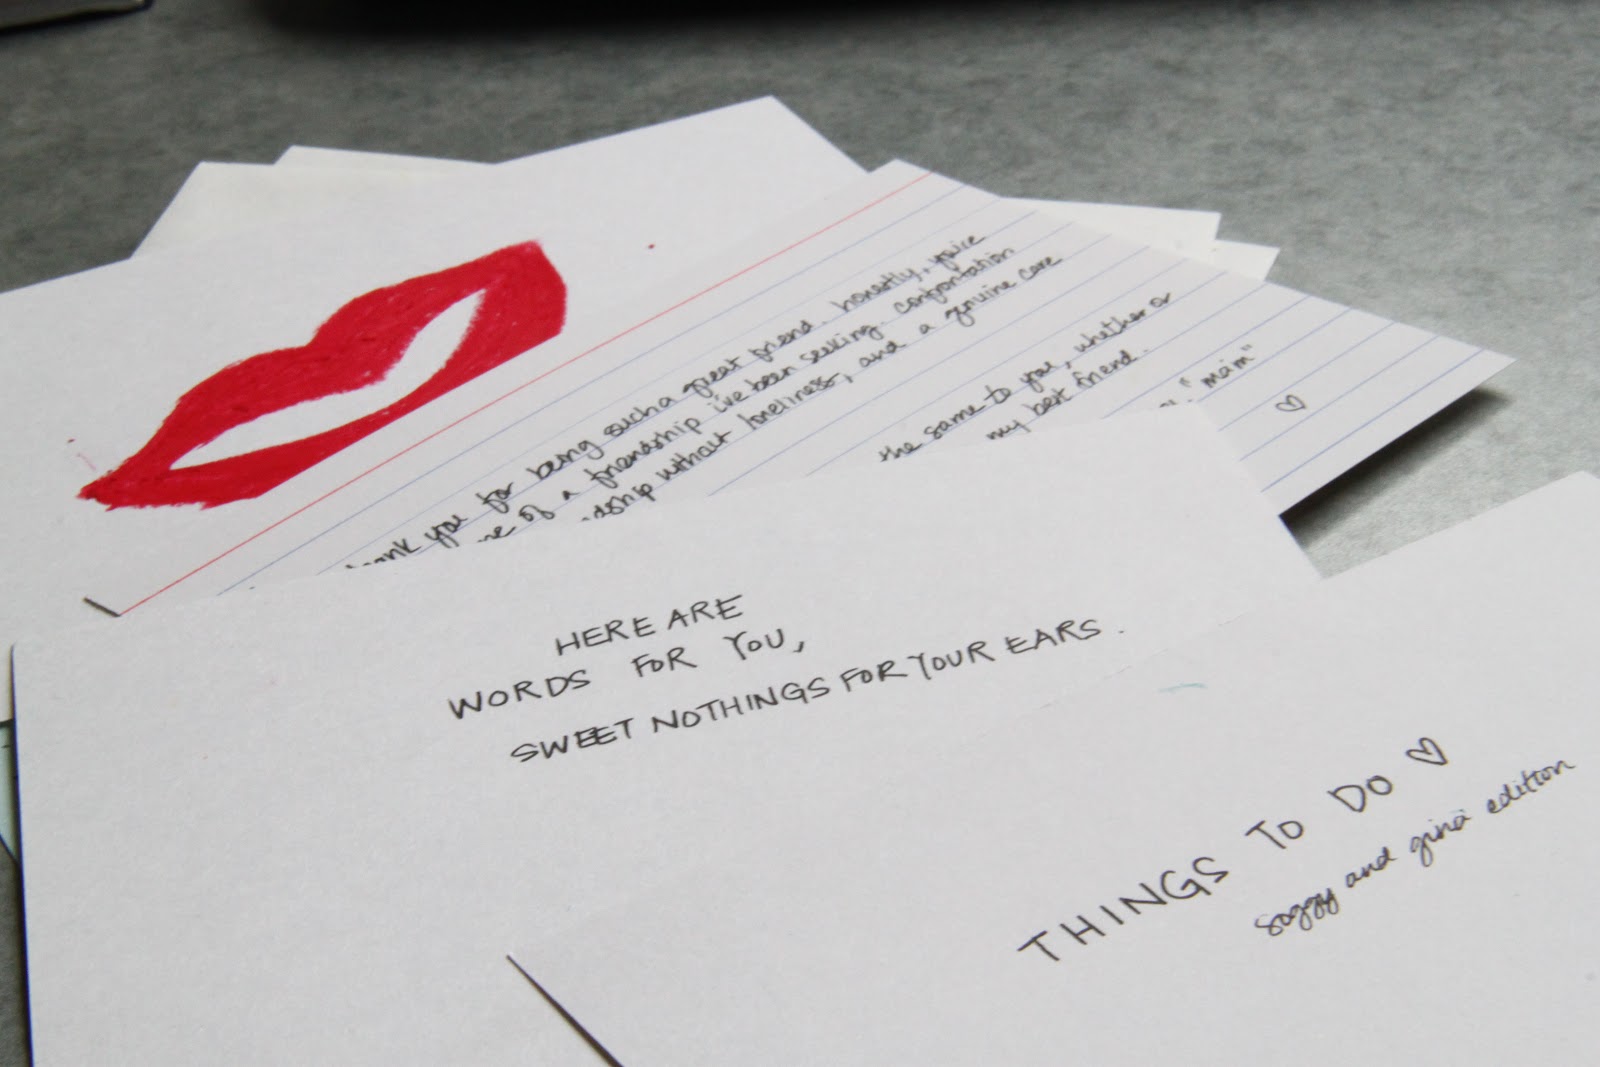
Step 3: Write on the inside of your index card before you decorate. Get creative with your Valentine's cards...I chose to come up with the top 3 reasons why I love my friends.


Step 4: Fold post-its (preferably, thin bookmark post-its) into little steps. On the top, glue the heart. Now, you have a pop-up heart on your Valentine's card. If you'd like a little something more on your card, add a little tag. I used a regular index card and cut out a rectangular (again, size depends on your preference). Then, cut out a small triangle on both or one side. After writing the name, glue the tag onto the front of the card.


Because I'm also mailing a card to my best friend, I made envelopes (courtesy to Oh Happy Day). With each envelope, I put "confetti" to make it festive. Free printables are found on her site and can be used with any occasion. It adds a little style to your snail mail!


Materials needed: ruler, hole puncher, yarn, and envelope printables {Oh Happy Day}


Step 1: Get colored paper (I used post-its of white, pink, and blue color for convenience) and hole-punch as many "confetti" circles as you'd like. An alternative for this step would be buying actual confetti from your local convenience store. Then, drop all into your envelopes!


Step 2: If you're using regular envelopes, simply hole-punch on the top center and use the yarn (shown above) to tie a bow. To tie a perfect bow, check out Late Afternoon's tutorial. Although she applies it to clothing, the same concept works for this! After you tie the bow, you're done and ready to mail out your lovely cards. (Again, if you'd like to include a little tag,